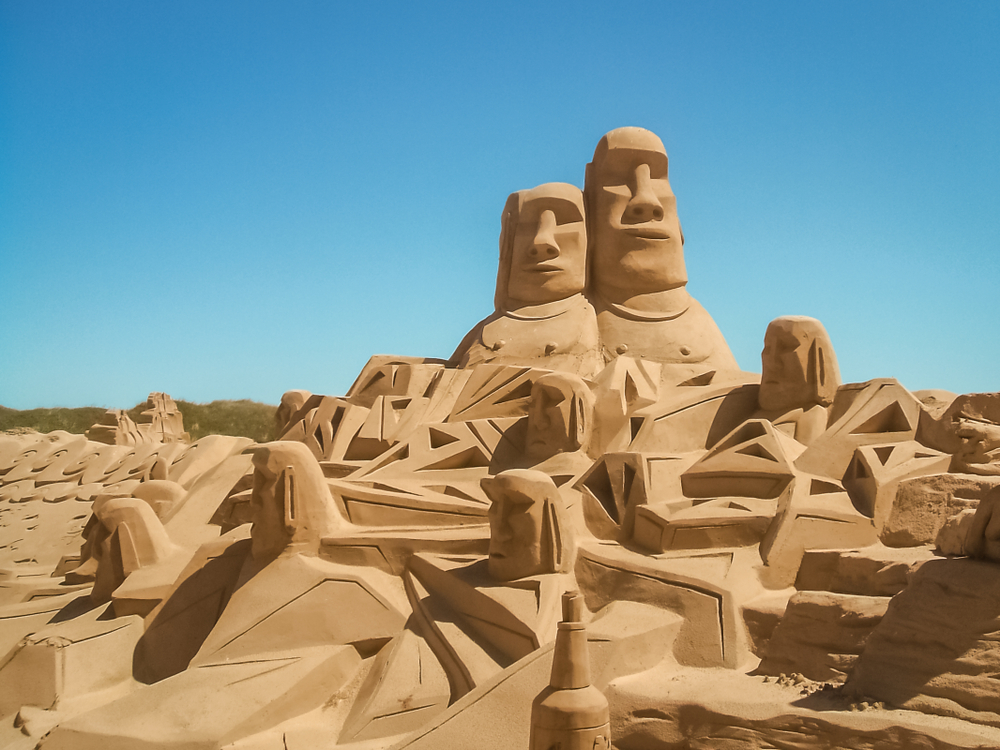
Sand sculptures can be a lot of fun for both kids and adults. They are relatively easy to make, and they don’t require any materials besides sand. But did you know there is more than one type of sand sculpture? In this article, we’ll discuss the different types of sand sculptures and how to build them step-by-step.
Table of Contents
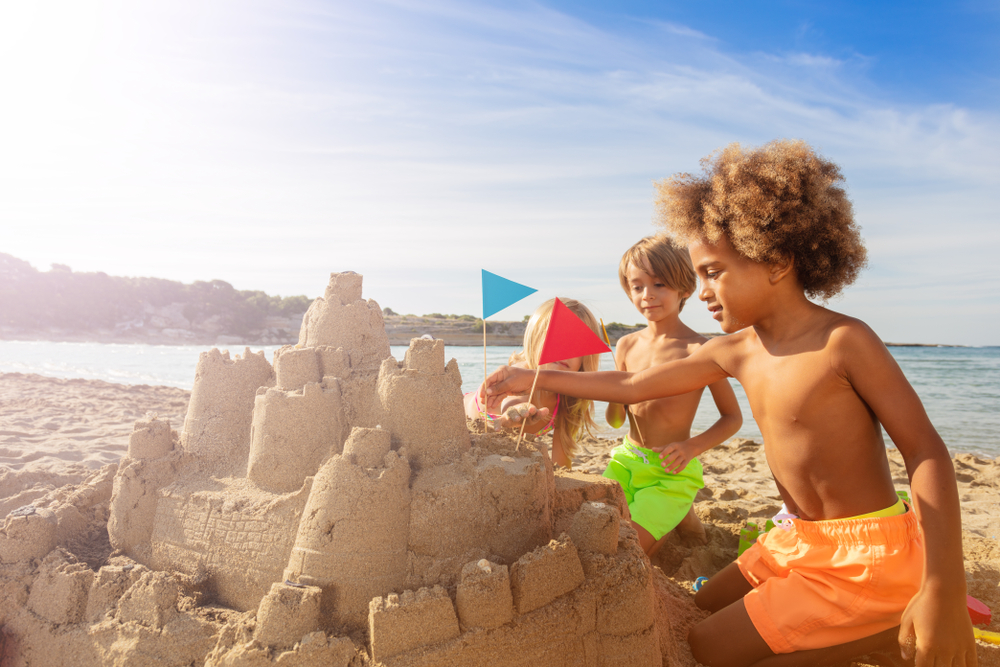
1. Sandcastles
Sandcastles are the most common type of sand sculpture, and you’re likely to find one at most beaches. However, they can also be made indoors on a table or on any flat surface with damp sand.
To build a sandcastle, begin by laying down the base. It should be damp sand that is compact and wave-resistant, something sloppy like molten lava. If your sand is too moist, it may be too difficult to compact, so check the water-to-sand ratio.
Once you’re confident about that, proceed to add layers of sand until the stack reaches your preferred height. In the final stage, use a spatula or your hands to shape the sand from the top downwards, making sure to capture details such as windows, ridges, doors, and stairs.
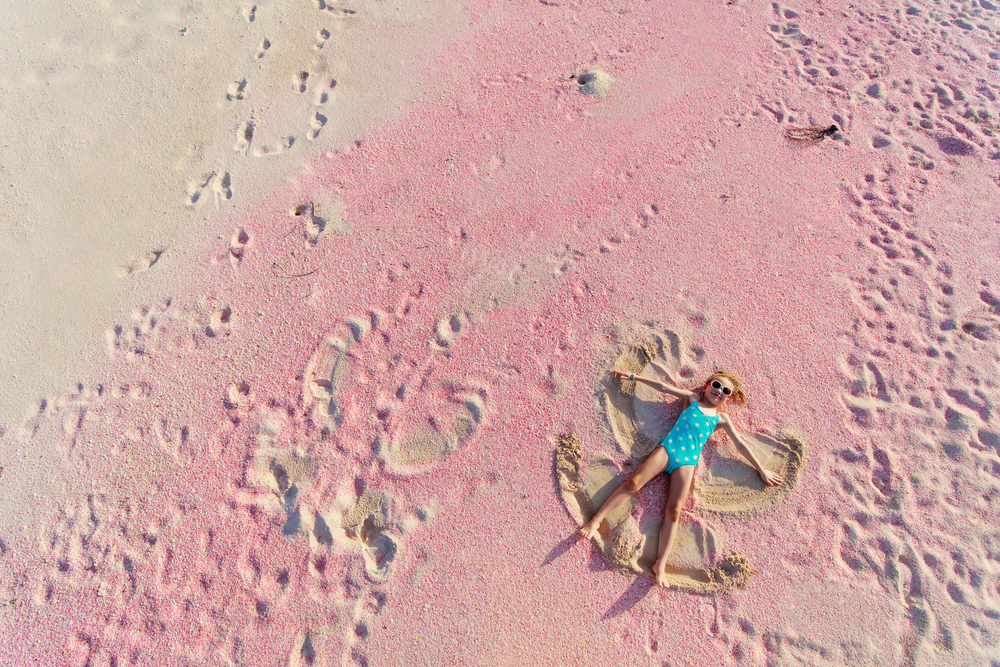
2. Sand Angel
The sand angel is a type of sculpture in which you lay down on a flat surface and form the shape of an angel with your body.
Lie down on a sandy surface, face up and arms extended straight from the shoulder. While maintaining that posture, spread out both the hands and feet from the body and bring them back to the initial position.
Don’t move too fast; otherwise, you lose the shape of the angel you intend to create. Repeat the process again, making sure you drag as much sand as possible when you move.
After this has been completed, simply sweep off any remaining excess bits of wet sand with a brush or towel. This will reveal your beautiful, finished product.
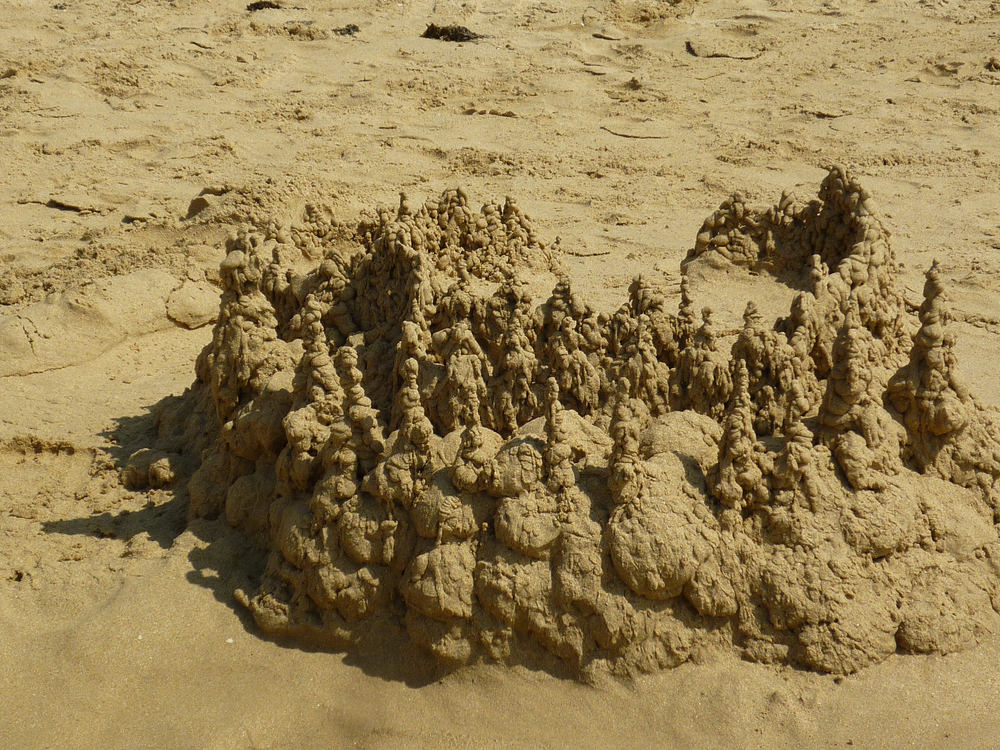
3. Drip Castles
Drip castles take more effort to make than other sand sculptures. However, they are also common, and you can create one anywhere.
Start off by collecting sand until you have a hillock. Dampen the sand with water to create a slurry of mud. The particles of sand should be compact and withstand any pressure.
Now, use a funnel to drip water onto the top of your castle in whatever pattern you want. You’ll observe the already filled-up sand dripping down to fill the unoccupied spaces. Continue adding more water until the top breaks down to the height you prefer.
Continue doing this until there is no more space for drips to fill up, then let your castle dry for a couple of hours.
Once everything is completely dried out, you can use a spoon or spatula to carefully scrape around the edges to reveal the finished product.
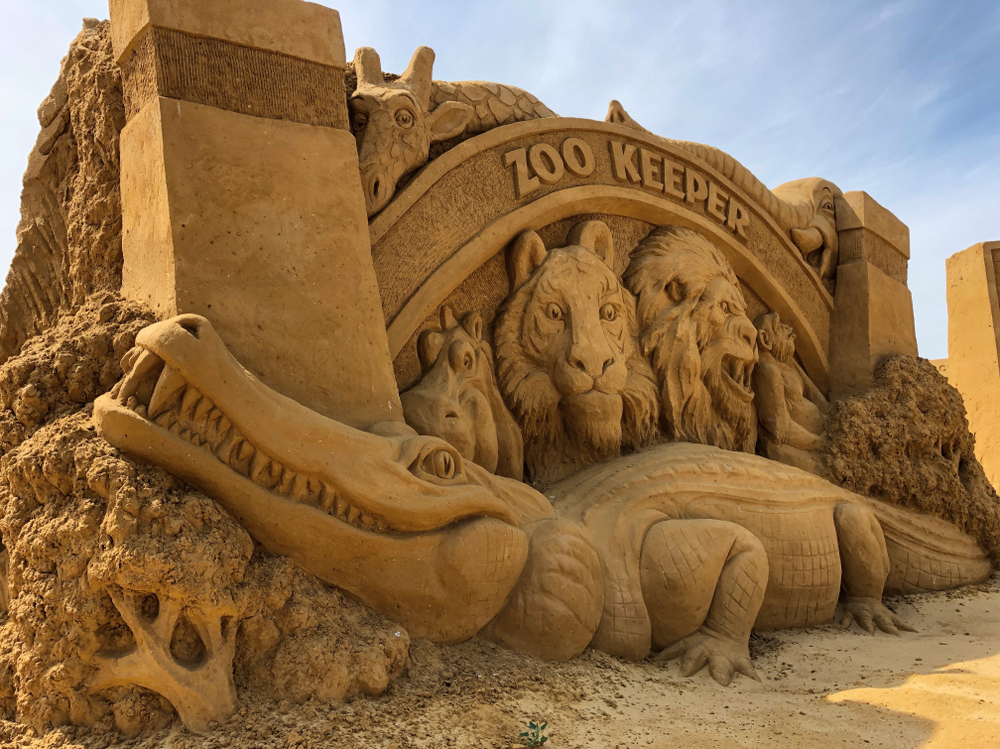
4. Animal Sand Sculptures
You can recreate any type of animal with sand, from elephants to something more obscure like a pterodactyl.
This type of sand sculpture begins with the base, and the rest builds up from there. Dampen your sand and spread it to form a layer that’s about half an inch thick.
Add more layers of dampened sand over the base. The height should be relative to the type of animal you want to create.
Now, use your hands or wooden block to mold it into whatever shape you want for your animal’s body. When done, leave your masterpiece to dry.
5. Sofa Sand Sculpture
Recreate your outdoor or patio furniture at the beach with a sofa sand structure of any kind. This creation is an absolute cinch to execute with moistened sand.
Begin by collecting an adequate amount of sand that’s relative to the size of the sofa you want to create. We vouch for wet sand since it’s effortless to shape.
Check for and remove any clumping particles since they can cause your piece to crack along certain lines and break down.
Once you’ve collected enough sand, use a spatula or spoon to scrape the mound into the desired shape. Make sure to fold up any excess sand at the back to create an armrest.
For flat surfaces, use wood to smooth them down. You can moisten your hands and use them to create round spaces, such as the edge rolls.
Leave your piece to dry. You can go the extra mile to complete the look of your chair with non-toxic paint in a shade of your choice.
The sofa set may not look good while sitting on the sand, so you can stuff wooden legs in it to make it look like it’s standing on its feet. A popsicle stick and some glue are specifically valuable additions to hold up the weight.
You can also try making a matching side table, coffee table, or even lamps with sand if you want to take things up a bit.
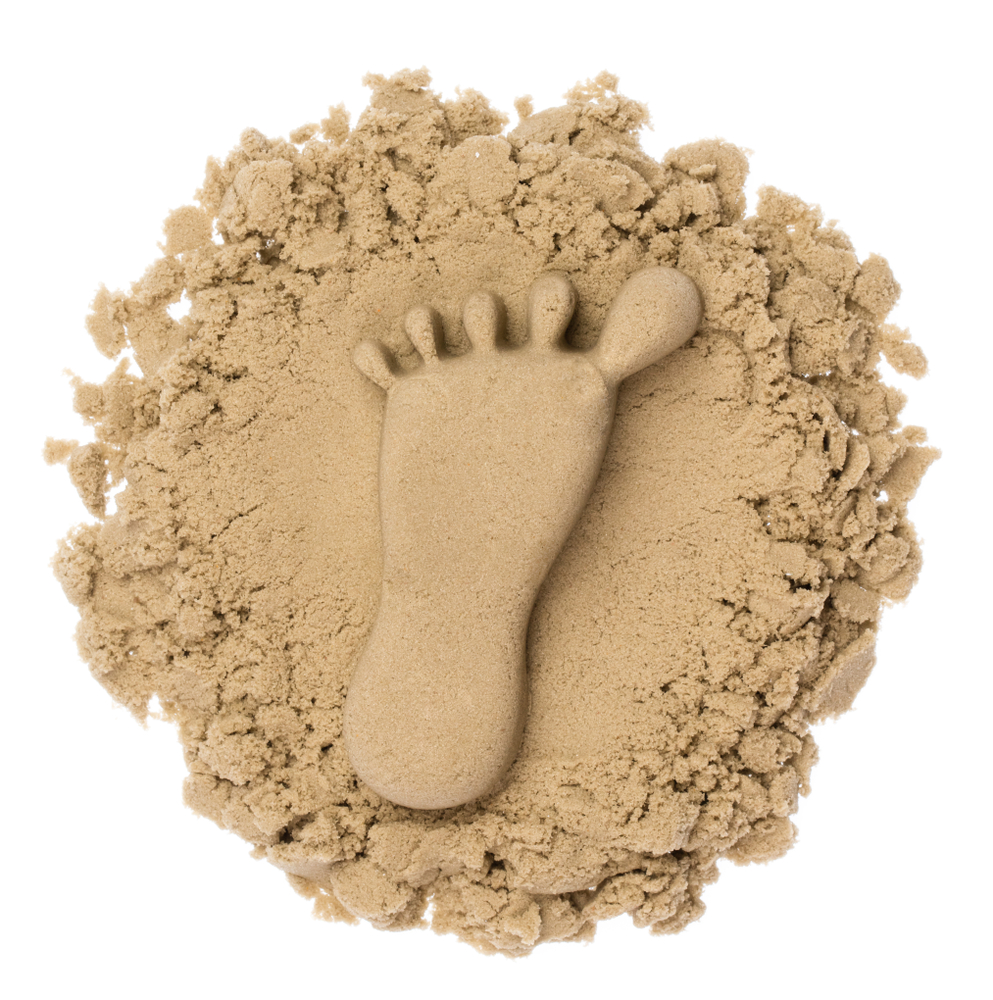
6. Sandy Feet
Sandy feet are a perfect way to announce to everyone that you’re at the beach. Just know that they may not last long, especially if you create one near the surf zone (where the waves break).
Start by wetting down dry or dampened sand until there are no clumps left – just smooth layers of moistened sand.
Use your hands to shape the sand into a round mound. Make sure that it’s big enough to fit your feet inside. Then, step onto the sand and allow the feet to submerge up to the ankle level.
Use your hands to press the mold against the sides of your feet, then remove the feet, leaving behind a void that recreates the exact shape of your feet.
Use a spatula or spoon to scrape off excess sand from the bottom of the sculpture so that whatever remains mimics your feet, with all the toes visible. Then, let the footprints dry.
7. Lips on a Sand Structure
If you’re looking for something more artistic, why not try designing the shape of lips or mouths? It’s not as easy as it sounds, but with moistened sand, you have nothing to worry about.
Flatten out a mound of sand. Then, press your thumb in the middle to make sure the sand is damp with no clumps inside.
Next, use the palm to spread the sand carefully. Locate the middle and use a stick to draw the shape of the mouth. Divide the shape into two to represent the two lips.
Take mounds of wet sand and add them strategically to the place each lip should be. Then, use the hand to mold them into the shape of a mouth.
Leave the structure to dry and you’ll have a lovely set of lips.
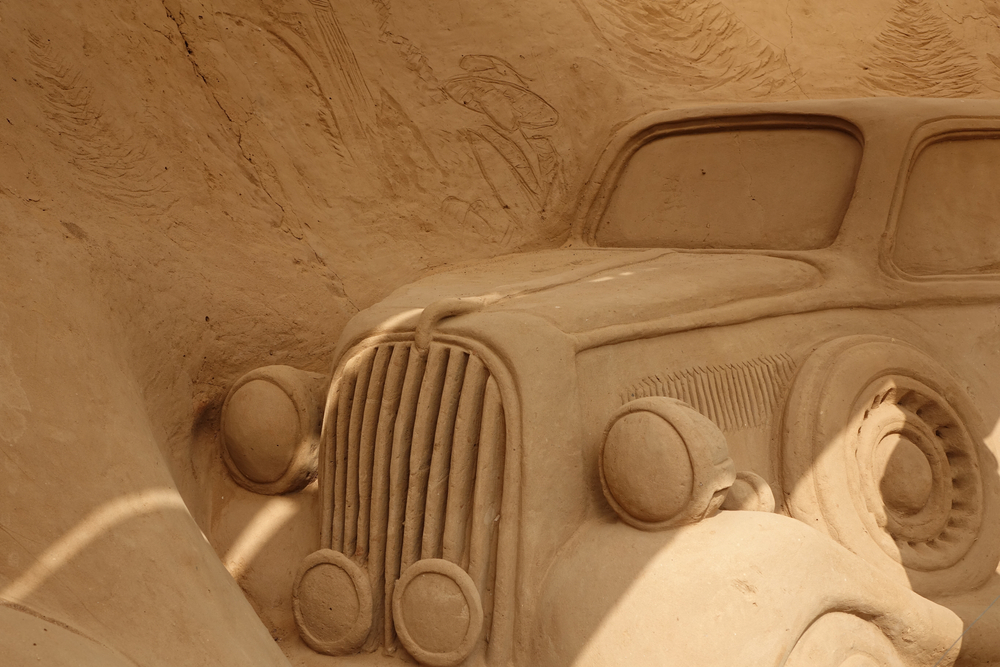
8. Car Sand Sculptures
Car sand sculptures are another common type of sculpture that can be built at home. Just like with animal-shaped structures, these also work best when children are involved, since they have natural imagination and creativity already.
To begin building your car, start by wetting down some dry or dampened sand until there are no clumps left – just smooth layers of moistened sand.
Once your car’s base is ready, you can use things like sticks or toothpicks to add in windows and headlights – be creative!
You could even make a convertible by adding some extra layers on top of the basic structure with different colors of wet sand before carving out openings for windows using an X-ACTO knife or other sharp object.
Making the wheels is simple: just roll some dry sand into tight balls and use them for your tires.
Remember to wet down any parts of the structure that might start dripping to prevent ruining your masterpiece when you’re finished, but don’t worry if it does happen – there’s always a way around it.
An easy way to prevent this is by getting a sand sculpture base that’s already made for you.
When all of your car details are ready, it’s time to start adding water. Use your funnel and drip water onto the top of your structure in whatever pattern you want.
You can even just use a spray bottle to wet the whole thing.
Once everything is completely dried out, you can use a spoon or spatula to carefully scrape around the edges to reveal the finished product. If there are any drips starting to happen after it’s been drying for an hour or two, simply take your sponge and wet it down again.
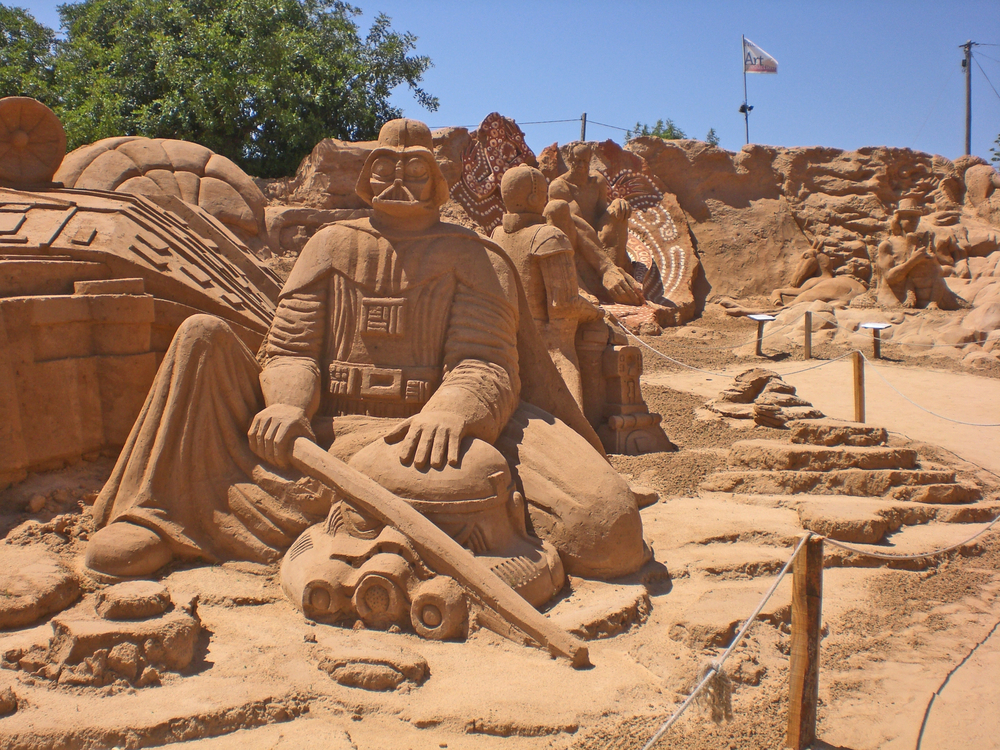
9. Star Wars Sand Sculptures
Star Wars fans and sand sculptures go together like peanut butter and jelly, and if you’re looking for a fun way to celebrate Star Wars Day (May the Fourth be with You!) or just want to make something simple yet incredibly cool-looking, then this project is perfect.
Some Star Wars characters you can use for this project include:
Darth Vader
Storm Troopers
Chewbacca
Rancor Monster
Yoda
Luke Skywalker
Princess Leia
When sculpting the Star Wars characters out of the sand, push them down hard with your fingers or pat them on the head of a wooden spoon so they’ll stay together while drying. This is especially important when sculpting people because there isn’t much sand on top of them to hold everything together.
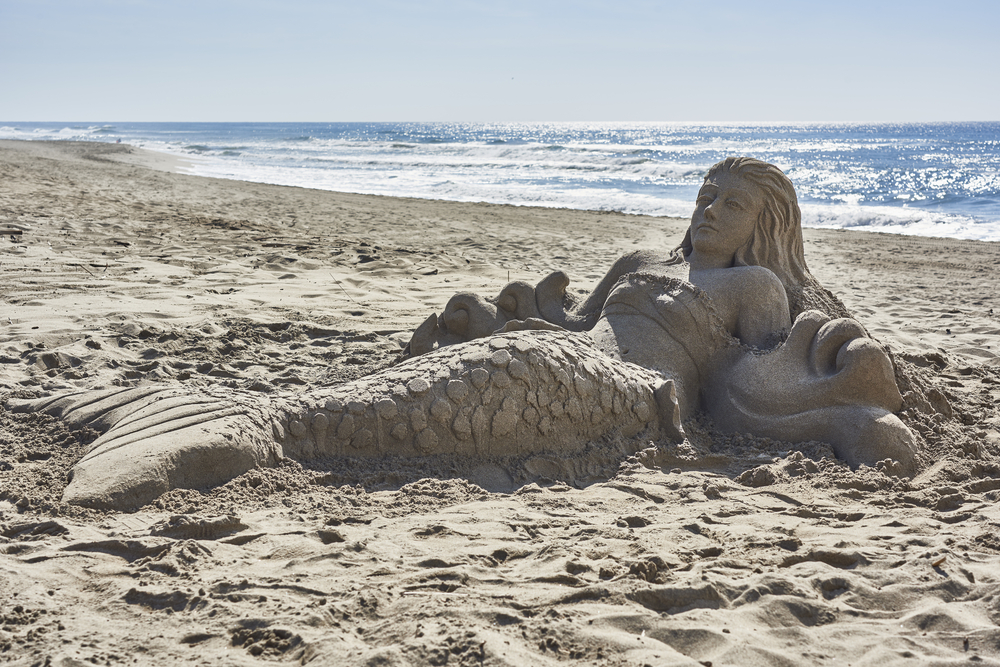
10. Mermaid Sculpture
The image of a mermaid is sensational, and creating a sculpture of one will no doubt attract the attention of everyone.
First off, draw a simple outline of your creation. It’ll help you be organized so that nothing stops you when you embark on your creative journey.
Then, look for other materials you may need to use for parts such as the hair. We recommend seaweeds as they are appealing and can help impersonate the hair of a real mermaid.
For this project, you can use wet or dry sand. However, wet sand is necessary if you want to make a structure that’ll beat storms.
If you choose dry sand, simply shape the sand into the body of a lying mermaid. Pay attention to the tail, body, and human head. Finish off by covering the head with the seaweed.
If you choose wet sand, simply layer the sand carefully, making sure to capture the details in your imagination. Use the hand to smoothen the body and create a face. Add the seaweed to the head. Finally, leave the sculpture to dry out.
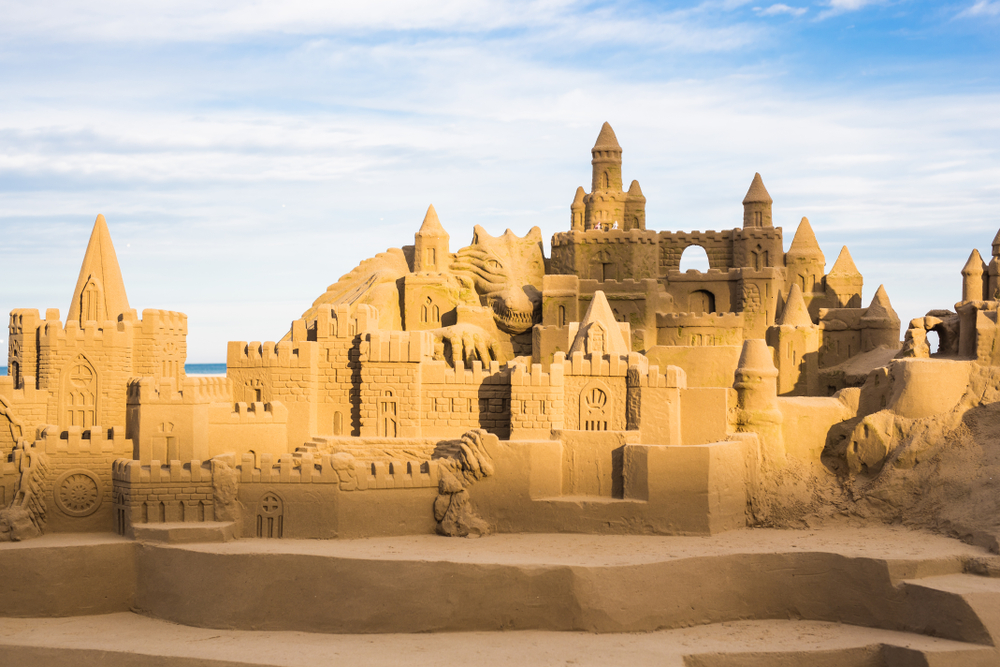
11. Sand Sculpture Buildings
Making sand sculpture buildings is similar to making animal or car shapes – it’s just bigger! These sculptures include churches, mansions, and structures with towers and spires.
Similar to building a drip castle, begin by wetting down some dry sand until there are no clumps left – just smooth layers of moistened sand. Then, use your hands or a wooden block to mold it into whatever shape you want for your building.
Keep in mind that when you’re finished, the structure should be about four inches high. Once you’ve got your base ready to go, it’s time to add the next layer.
With that, mold another body of your structure on top of the first layer. Make sure to wet down any parts that might start dripping. Building shapes like this is a great way to make sandcastles, but they can also be made into shapes like houses.
Once you’ve finished building your shape, wet down any parts that might start dripping. And use something sharp, such as a knife or other tool with a smooth edge, to cut out windows and doors in the structure.
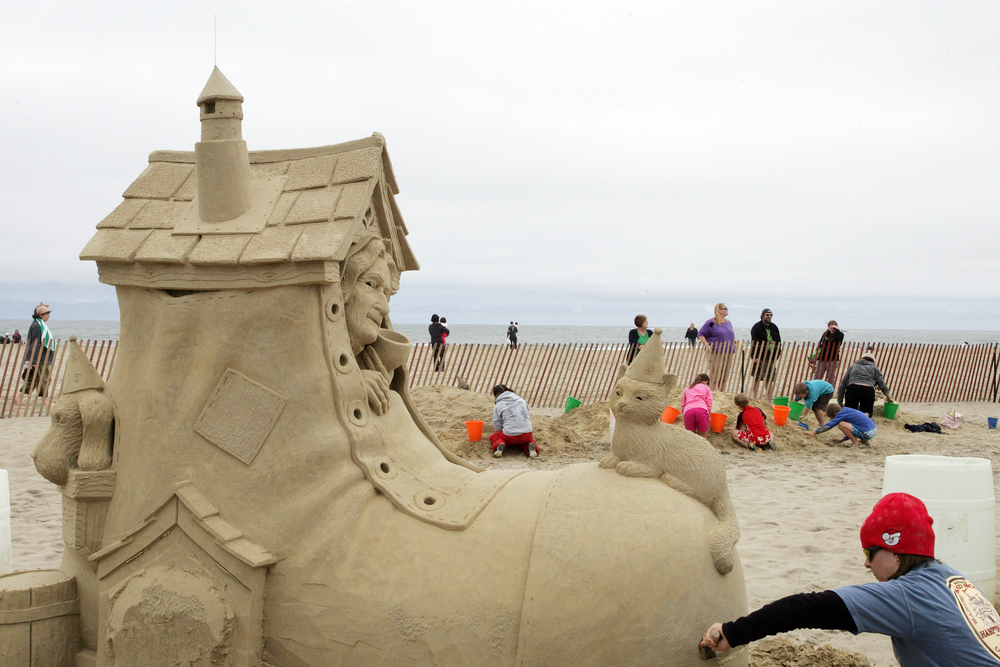
12. Karen Fralich Old Woman on a Beach
Karen Fralich is an artist who creates amazing sand sculptures of people. Her first major work was called “The Old Woman on the Beach.”
To create this, she covered the body of her model with wet newspaper to keep it from being damaged by the hot sun and wind. Then, she covered the model with damp sand.
Once that was done, Karen started to sculpt the face and hands (which were very detailed), while also adding in other fine details like wrinkles around her eyes. This sculpture took about four hours to complete.
You can copy her idea and make an Old Woman on the Beach sculpture for yourself!
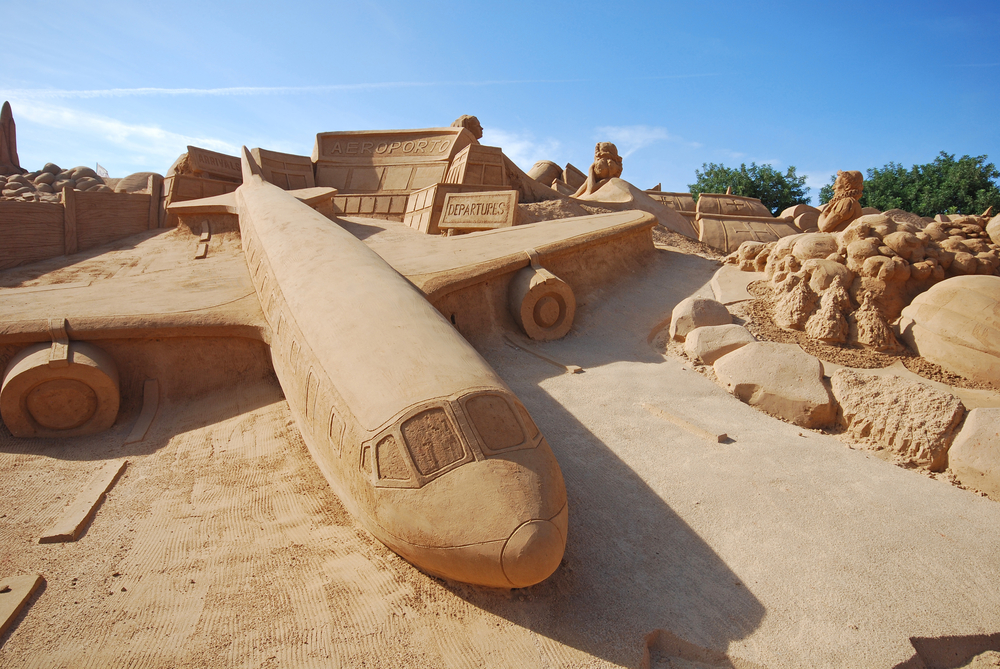
13. Airplane Sculpture
Airplanes are always a popular sculpture for children, and they don’ require much effort or expertise to sculpt. Simply take a bucket and fill it with water, then put sand inside of the bucket.
Use your hand to shape an airplane design out of the sand, making sure you scoop out enough room for water.
Once you’ve shaped an adequate plane or other types of aircraft, carefully pour some more water on top so that the sand is completely submerged in liquid. This step is essential: the sand will harden and become stronger in a matter of minutes, but only if it’s soaked in water.
After that, simply take your plane out of the bucket and let it dry. This may require several hours or overnight, depending on humidity levels.
14. Scorpion Sculpture
This one might be more difficult than some of the other options listed here, but if you’re up for a challenge, go for it!
To make a scorpion, start by making two separate mounds of sand. Then, use your hands to shape them so they look like the body and tail of a scorpion. Once you have those parts ready to go, wet down some dry or dampened sand until there are no clumps left.
Use your hands or a wooden spoon to mold the sand into an upside-down triangle that is at least four inches tall.
Once you have completed this step, wet down any parts that might start dripping, and then use something sharp, such as a knife or other tool with a smooth edge, to cut two holes in both sides of the tail.
Then, use some paint to color the tail and add any other details (like eyes) you want.
15. Logo Shapes
Logo shapes are one of the more unique types of sand sculptures, but they’re also some of the most interesting to make. This is because instead of making something typical like an animal or car shape, you get to make your own design.
These are great for things like birthday parties and other celebrations where a personalized touch is appreciated. Also, they can be made relatively quickly compared to other types of sand sculptures.
To begin, wet down some dry or dampened sand until there are no clumps left. Then, use your hands to mold the shape into whatever design you want.
That can be as simple as a basic circle for something like a turtle shell, but it could also be shaped like other things, such as a heart or star.
After your shape is finished, it’s time to add in the water. Use your funnel and pour some water onto the top of your sand sculpture – just enough so that it starts dripping down from the middle.
If there are any parts around the base that start dripping too soon, wet them down with a spray bottle before the entire thing starts dripping.
Once you’ve poured water all over your sand sculpture, leave it to dry. Make sure that the whole thing is completely dry before attempting to peel off any of the shapes. If this doesn’t work and parts stick, just wet them down and try peeling from another section.
Use a spoon or spatula to gently scrape around the edges of your shape to reveal it.
Wrap Up
There are endless possibilities when it comes to the types of sand sculptures you can build, so be creative and have fun with them! You could even experiment by adding in some paint or dye for different colors if you wanted.
Just remember that no matter what kind of sculpture you’re making, dampened sand is key to creating the best structures.